Define logic to determine the values for your custom fields.
Custom fields allow for flexible logic to create new fields in your
datasets. You can define logic in two ways:
- Roll-up values in existing
field(s) by grouping the original values to new categories in a new custom
field.
- Recode values in existing
field(s) by mapping the original values to new values in a new custom field.
| Example: Recode Canadian provinces by region |
|---|
In a survey of Canadian customers you collected each members' home
province, but a new requirement is to catagorize members by region of the
country. Creating this logic involves defining a custom field named Region with
the five regions of Canada as values, and defining the custom field logic for
each value to match the provinces and territories that belong to each region.
-
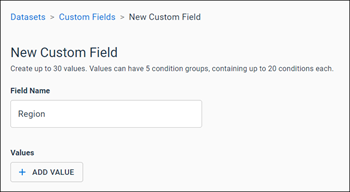
Create a new custom field and enter a name that is clear to users
selecting the new custom field in dashboards and reports.
-
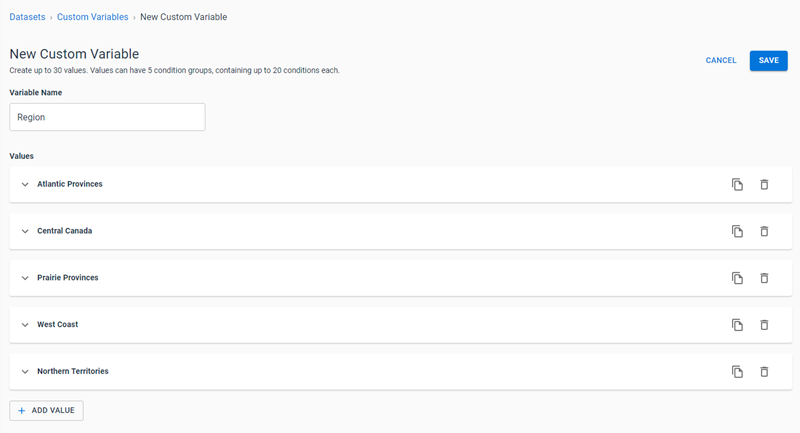
Add the possible values that you want to recode the data by. In
this example, all five regions of Canada are listed.
-
The custom field will evaluate the contents of the Province field
in the original dataset to determine the region each member lives in. Each of
the 13 provinces and territories in the Province field belongs to a particular
region. Conditions are used to associate each province or territory with the
correct value.
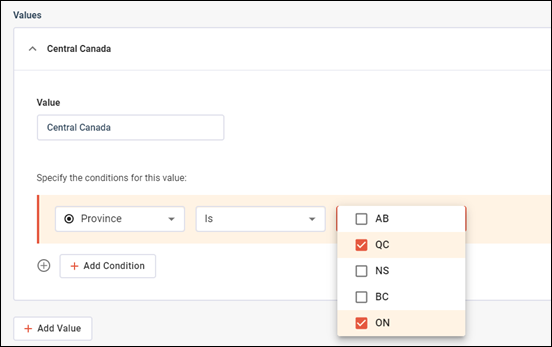
Quebec and Ontario are the two provinces that belong in the
Central Canada region. A simple condition is used to identify records where the
Province is Ontario or Quebec. If the province is either Ontario (ON) or Quebec
(QC), the Region field is assigned the value of Central Canada for that record.
For each record in the dataset, the values are evaluated in order
from top to bottom until the conditions evaluate to true for one of the values,
or the end of the values is reached and the custom field is assigned a null
value for that record.
|
| Example: Roll-up beverage preferences by age demographic |
|---|
You have a survey that gathers information about members' coffee
drinking preferences that you want to combine with a profile variable with
members' birthdays. Then, to complete your analysis, you want to create a
custom field to add the generation each member belongs to as a new field in
your dataset, and use this new field to roll-up survey data by generation.
Complete the following steps to create a dataset with this
information:
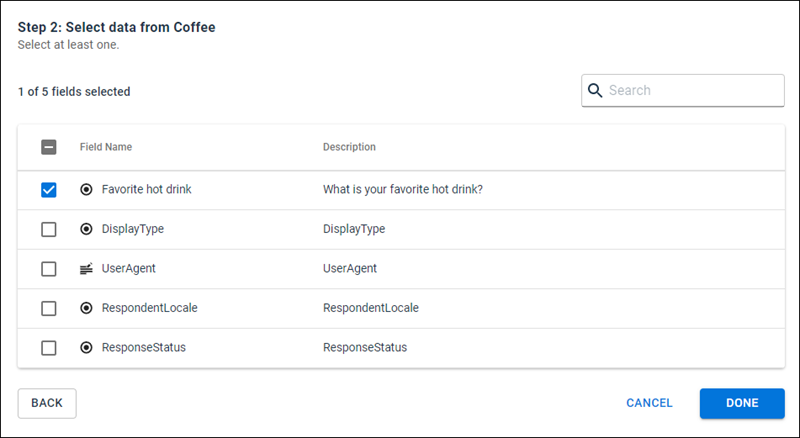
- Create a new dataset and
add your survey as a primary data source and select the fields you are
interested in. For example, you choose a coffee survey and the
"Favorite hot drink" field.
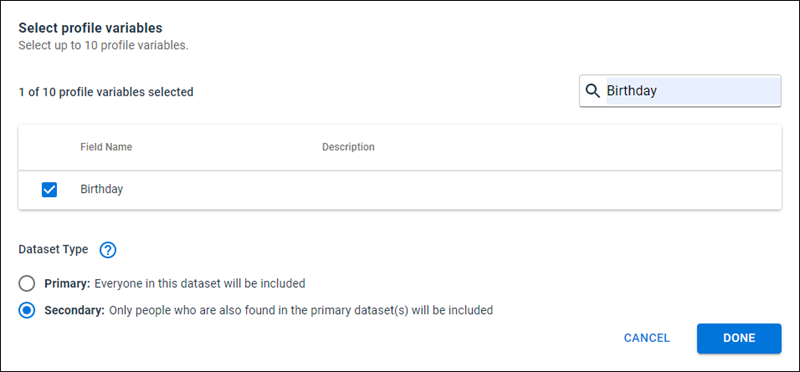
- Add profile variables as a
secondary data source to your dataset and select the Birthday profile variable
field.
- Sync the dataset.
- Create a Custom field
named
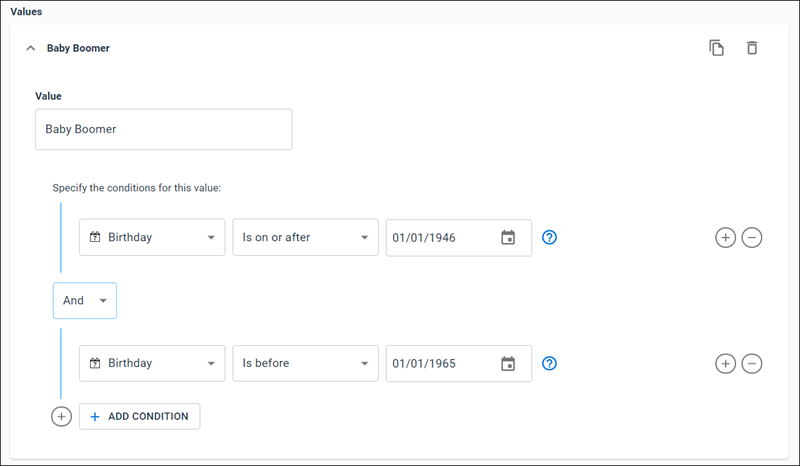
"Generation" and define the values and conditions for each
generation.

The custom field will evaluate the contents of the Birthday field
in the original dataset to determine the generation each member belongs to.
Conditions are used to associate each member with the correct generation based
on their birthday.
- Sync the custom field.
- Sync the dataset to
retrieve the latest data and append your profile variable data with you
activity data.
You can use the dataset you created as the source for reports and
dashboards. For example, you can create a report that categorizes hot beverage
preferences by age demographic based on commonly recognized generations.
|


