Add nested columns to a crosstab report
Apply subgroups to a crosstab report and find correlations between two fields as columns.
- Click the App Drawer and select Crosstabs.
- On the Crosstabs page, click the name of a crosstab report.
-
On the left of the page, under the
Columns section, click
Edit.
 Tip: If you close the Edit pane, click Expand to open it again.
-
In the
Fields section of the
Customize Columns dialog, select a field to be
compared as a column.
The following fields are available based on what was selected when creating a dataset.
Fields Description Survey Name Contains all questions from a survey. Custom Fields Contains custom fields such as Source which is a collection of multiple surveys used to compare data from one survey to another. Profile Variables Contains profile variables. Note: A limit of 40 columns can be added. Each field has a number of columns and in total they can not surpass 40.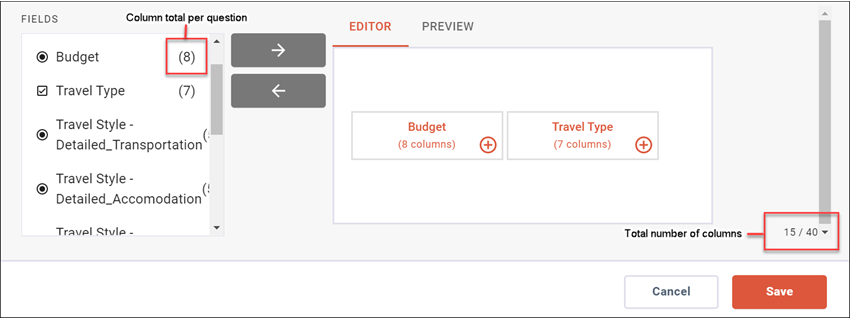
- Click the right arrow to add the field to the Editor.
-
To nest a column, click the
Add button.

-
Select a question from the list and click the right arrow to move
it.

- Optional:
Add additional columns to the report.
Note:
- There is a limit of 3 levels for nested columns. Nested columns do not go beyond grandchild columns.
- When you add nested columns, columns are added for each unique combination of the parent field and child field (and grandchild field, if applicable). For example, if you have an Age field nested under Gender, each age range answer (18-24, 25-34, etc.) will be added as a column under each gender answer (male, female) column. This means that the parent field multiplied by the child field (and grandchild field, if applicable) is the number of columns that will count towards the maximum of 40 for the report.
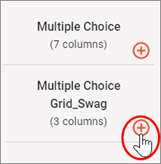
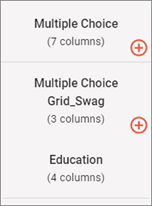
Type of column Description Before Result Parent column - In the Fields section, select a question.
- Click the right arrow to move it to the Editor.
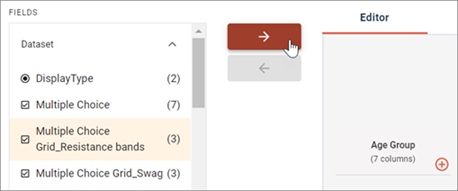

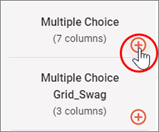
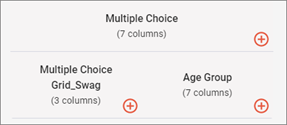
Child column - To nest child columns, click the Add button at the parent level column.
- Select a question from the list and click the right arrow to move it to the Editor.
Grandchild column - To nest grandchild columns, click the Add button at the child level column.
- Select a question from the list and click the right arrow to move it to the Editor.
 Note: There are two possible cases that can occur from deleting or updating a custom field:
- A custom field is
removed but it still appears in the crosstab report. In this case, click
Remove in the
Customize Columns dialog, to manually
delete the custom field.

- Changes to a custom field cause a column to be removed from a crosstab report. In this case, manually add in the removed column.
- Click Preview to see how the columns will look before it is saved.
- Click Save.